Thinking about tiers

My last couple brew days have included a weird shuffling ritual about half-way through lautering where my sweet wort kettle is nearly full and my hot liquor tank (also my brew kettle) still have hot water that needs to go in to the lauter. What ensues is a silly, high risk game of musical pots as I pour liquids between 4-5 different kettles and stock pots trying to get all the hot water from my main brew kettle so I can collect the remaining sweet wort.

Another method I’d like to leave behind is the constant ladling and scooping from the hot liquor tank and pouring it in to the mash tun. I’m afraid I’ll mess up the grain bed. I think I’m going to have to build myself a 2 tier rack so that I can harvest gravity’s natural talent in making water go downhill. Luckily, there’s lots of examples for ideas at Brewhalla.

Now I’m just mentally building it. And watching craigslist for potential kettles and parts.

No IPA

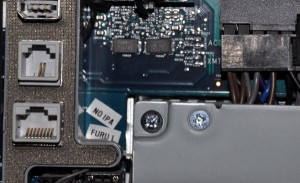
No IPA sticker in my iMac
Last night I cracked open my iMac to add a new hard drive. One of the first things I noticed (other than how nice the industrial design is) was a sticker stating “NO IPA.” I’m not sure if this means I shouldn’t drink while working on computers, or shouldn’t give my computer bitter ale, or if it is an acronym for something else, but I didn’t much care for the tone. I’ll be the one who decides when there is No IPA.

Linoleic Acid alternatives

After sampling some good beers (and one bad beer) at the North American Organic Brew Festival last night, Joe, Linds and I stopped at Pause because we couldn’t resist the wonderful summer evening. We grabbed some food and a pint and chatted for a while longer, and Joe mentioned an article he’d read in BYO about New Belgium using olive oil instead of aerating the wort with oxygen. He explained that what the yeast really want is a fatty acid that olive oil has in abundance, so using a miniscule amount negates the need for pumping in oxygen. I was still perplexed, so he told me to go read some more on myfairly complete rundown on who, what, where, and why. The main things to take away are:

  • This is somewhat impractical at the homebrew level because the desired amount is much smaller than a single drop
  • The benefit is that the wort and yeast get the linoleic acid they crave without introducing oxygen, something you normally want to keep out of beer.
  • Given how quickly this information spread, it’s likely that we’ll see some option for homebrewers soon, like yeast nutrient with linoleic acid capsules. What’ll they think of next?

#1 Gas Tank

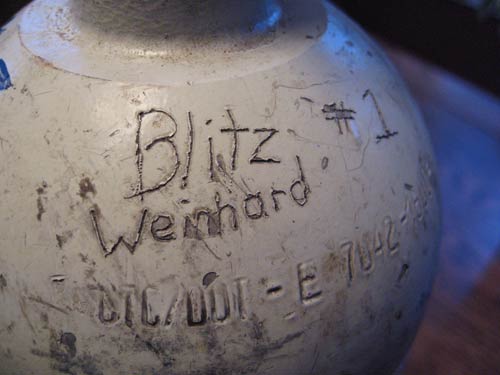
The homebrew shop I used to live by wouldn’t refill gas tanks, they’d swap empty tanks for full tanks. This worked OK, but they charged way too much for the service. Each time I went, the cost seems like it had gone up. I started the process with a brand new aluminum tank (5#) that I got with my kegging setup. The last time I swapped tanks, it cost something like $20 and I got a POS steel tank that everyone else makes fun of. Sure, it’s old, ugly and heavy, but it also has “Blitz Weinhard #1” etched in to it, and while it’s probably just a fluke, I like to believe that it had done a stint in the now defunct brewery.

Blitz Weinhard C02 tank

Anyway, it needs refilled, and I’ve been lugging it around a lot, so I’m going to try and swap it once more, hopefully getting an aluminum tank instead. What it may lack in imagined history, it’ll make up for in “not ghetto-ness.” Besides, I imagine its time for it to be serviced, and if I’m paying $20 to have it swapped, I’d better be paying for some safety.

This tank has pushed beer for 2 weddings, at least 2 birthdays, and many batches of beer. Once I stopped using the crank-and-shake method of carbonating, I stopped needing as many refills. We’ll see if the swap happens.

Instant Starter

I think I may have reached my pinnacle for home brewing innovation. Well, not really, but I had a great idea so simple and obvious, I thought I’d share it. It has to do with yeast starters. Instant yeast starters. We all know having a good yeast starter is the first step to making a great beer. And sometimes, you just want to quickly pitch a starter and get back to your Friday night. My standard yeast pitching method involves pitching 1 cup of DME with a pinch of yeast nutrient into a 1 liter beaker. I break out the nappy bag of DME that’s sticky from steam and humidity, pour a cup, and try to then get the DME in to the flask through a funnel without spilling or stopping the funnel. One of the two always happens.

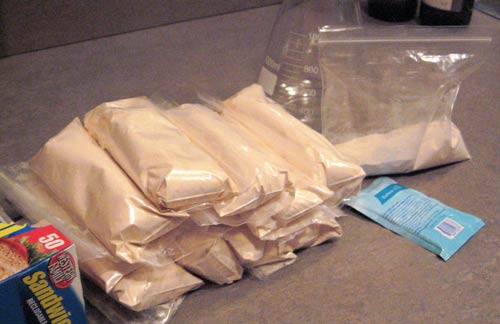
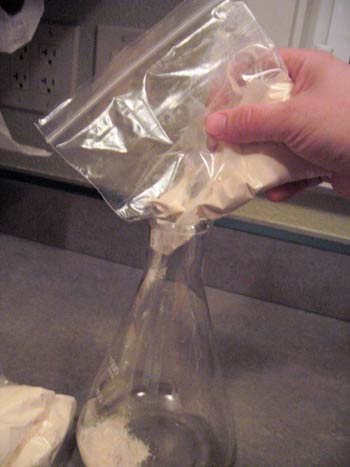
My new method, as of tonight, is to buy a bag of DME, pre-measure in to ziploc bags with a pinch of yeast nutrient, then pack away in a safe container. Then, when it’s time to make a starter, just cut the bottom corner off a baggie and pour it into the flask. Add water, bring to a boil, cool, and pitch.

Instant Starter Easy Pour

I feel a little bad about all the additional baggies, but it’s really freakin’ slick. And its still less material than a pitchable yeast pack and like 4 bucks cheaper.

Crank and Shake: Force Carbonation revisited

Scott and I were discussing how we force carbonate our beers recently and I had trouble remembering why I did mine the way I had. Scott said he was still using the old “crank & shake” method, which while fun, is really potentially dangerous for your back and not all that great for the beer. Where better to turn for the answer than BYO’s Mr. Wizard?

Under-carbonated beer is of course what you had before applying the crank-n-shake method. I use the term “crank” to describe the random application of gas pressure resulting from cranking the gas regulator to its maximum setting of 30 psi and unleashing this pressure on the poor keg of beer. If beer could become ill from too much dissolved gas like scuba divers do when staying down too deep for too long, these beers would certainly suffer from a high rate of the bends.

…Once you have your gas plan, attach your keg to the carbon dioxide tank adjusted to the pressure dictated by your gas table and wait. A batch of homebrew is small and the headspace pressure will equilibrate with the beer in about 3 days. The only thing you can do to speed this method up is to periodically shake the keg. Some people want to bubble the gas through the dip tube in the keg, but this really does not speed things up much because the gas bubbles are too large and zip through the beer before much gas diffuses into solution. It also causes foaming. Take my advice and just hang tight!

Here’s the rest of the article. In summary:

  • Find the correct volume of gas for your beer
  • Push that pressure into your keg
  • Wait

Edit: Rob over at tastybrew.com has a keg pressure calculator.

Behold…. K2

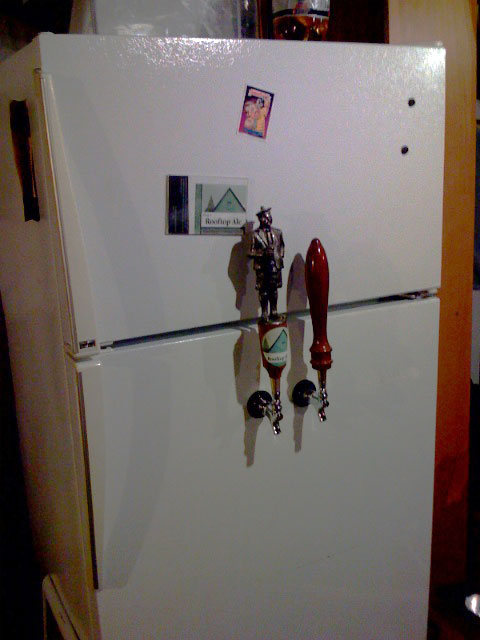
Kegerator version 2, that is. Ever since I had to leave the previous kegerator with our old house, I’ve been pining for its replacement. It was not an easy task though, because I’m a bit frugal and tend to wait a long time to make any decisions. Recently, with a porter in secondary and no desire to bottle, I hit craigslist again with new clarity.

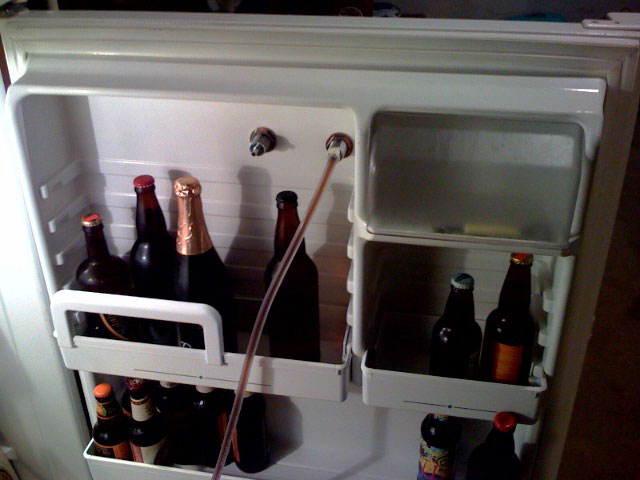
Finding a top and bottom fridge in good shape at a reasonable price can be a bit of a challenge. I managed to find a relatively new (<10 years old) Amana that was energy efficient for $180 and pounced on it. There was a pronounced thawed fish smell that occurred between when I purchased it and when I got it home (24 hours outdoors will do that) which I was able to wash out. And I had to remove all the doors and brackets to get it in to the basement, but it’s a nice fit, it’s quiet, and it now has two taps in the door.

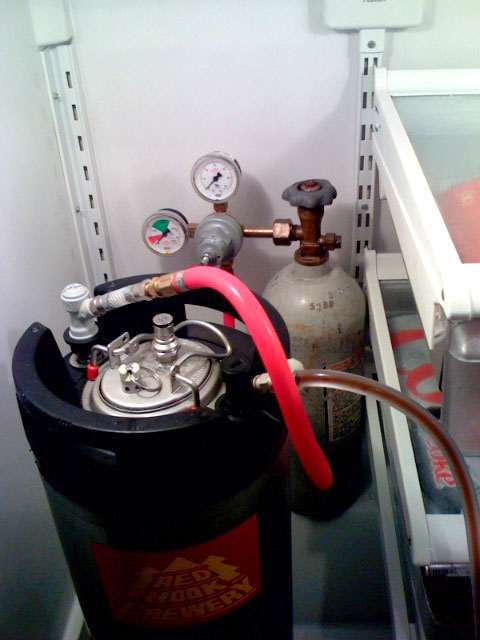
K2’s Facade K2’s Door, inside K2’s Keg and Gas

This time around I ordered the kegging equipment online from Micro-Matic, which has both inexpensive parts and a wealth of information on kegging and conversions. I’m really impressed with their site and the deliverables. I got my equipment quickly, and the conversion kit came with a very useful set of instructions. The only problem I found was that the instructions suggest using a 1” hole saw bit, then using a piece of PVC pipe as a spacer, but the PVC they included has a 1” inside diameter, not outside, so it doesn’t actually fit. I’m going to bring this up with them. I don’t particularly care, but they probably want to fix that.

Something is currently wrong with my regulator, so my porter didn’t carbonate quite right, but I was still able to pour a growler to take over to dinner at my parents. I’m very pleased with it. The porter, that is. But I’m also quite pleased with K2. It’s larger, quieter, frost free, and has 2 taps. By this weekend I should have a pumpkin beer on tap as well. I only had 30 minutes to make the conversion before going to dinner, so I didn’t have time to take pictures of the process. I don’t think I could have improved on the instructions in the Micro-matic manual either.

Moment of Truth, part 2

I successfully brewed a robust porter on Sunday. The entire process lasted about 5 hours from setup, to tear down and cleaning. The mash tun worked very well, and only leaked a couple drops when I wrenched on the faucet the first time. It held temperature like a champ, though my strike temp was a little low, so I was mashing at 151F for the first 20 minutes. I got it up to 153, but it was a pain with the small 1 gallon kettle. Note to self, get 5 gallon back from Alan.

I didn’t take any pictures, mostly because I was so focused this first time, and because I was trying to fit some other chores in as well, like playing air guitar to a few Primus albums. Pictures will be taken, however, during the next batch for photo proof of the success of the mash tun.

Measuring temperature was a challenge at first. I bought a small thermometer that can be twisted to adjust the sensitivity. The problem was that the sensitivity is in the 10 degree Fahrenheit range, and each twist is in the 10 degree range as well. So,I was on my mashing temp + or – 10 degrees. I quickly realized this wouldn’t work, so I snagged my wife’s electric meat thermometer and set it on Pork, partly as a nod to B.S. Brewing, and partly because 170 (Pork), is the mash out temperature.

This thermometer worked much better and I could see it from the doorway, so I asked Michelle, who was out running errands, to pick me up my own. I don’t want to end up with another Salted Ham IPA. She also picked up a new timer, a kitchen gadget we both use, but the steam from my brewing is probably what made the battery corrode and the LCD go bad.

Anyway, so the mash went really well, though I ended up stopping the lauter process a few times to heat more water. This probably inadvertently mashed it a little more, but the mash looked good and I got 7 gallons that I boiled down to around 6 gallons at an O.G. of 1.060. The tun worked well, and I only had one “oh shit” moment when I realized I forgot to pick up some iodine to check for starch conversion. I remembered what Palmer said though and tried a little iodophor, which did not turn black. Now the beer is happily fermenting away and should be racked to secondary on Friday or Saturday.