Assembling the mash tun was really quite simple (and quick) once I had all the correct parts. I had to make a second trip, this time to A-boy, to get a smaller close nipple and braided line. The images will link to larger versions when clicked. Well, without further ado.
Step One: Get a cooler

I’m using a rubbermaid 10 gallon drink cooler from Home Depot (notice the logo), though this can be done with a smaller or rectangular cooler as well
Step Two: Remove the faucet
I did this in the store to make sure I had the right diameter of close nipple. Use a crescent wrench to hold the nut on the inside in place and twist on the outside faucet.
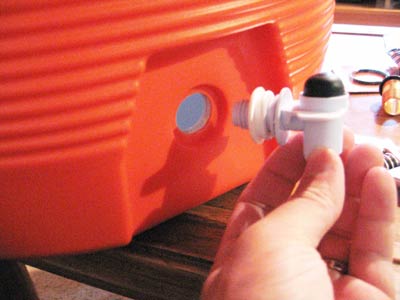
Assemble new manifold and drain system

Here’s how the pieces are assembled, though only put one half on, because you have to put the close nipple through the hole in the cooler before tightening up. Use teflon tape on each threaded fitting. I installed the internal compression fitting and washer first, inserted it through the cooler, then installed the exterior washer and faucet. Don’t over-tighten the assembly or you’ll damage the washers. I tightened just a little bit more than was possible by hand.
Moment of truth, part 1
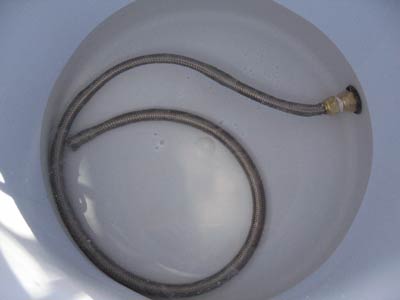
If everything seems to fight right, give it a dry run. Well, a wet run. Add hot water to the tun and let it sit for 20 minutes or so to see if the vessel remains water-tight. If so, you’re ready to brew. See, that was cake.

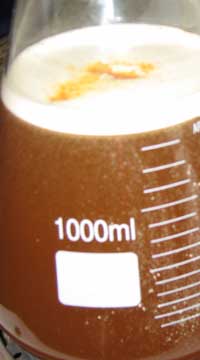
Moment of truth, part 2
To be continued…
 Â